Saturday, June 13, 2015

Kimmy Quilt of Valor - the Final Step

This is a re-post of the Mystery Quilt that Kimmy, Craftsy and myself collaborated on. I designed the quilt and the pieceing, Kimmy designed the quilting ( Ah-Mazing!!) and Craftsy hosts Kimmy's class that teaches you how to Quilt like Kimmy.

Some of our old posts are disappearing - so.... we are going to re-create them here -that way we all have access for ever!

The last and final step!! Are you ready?

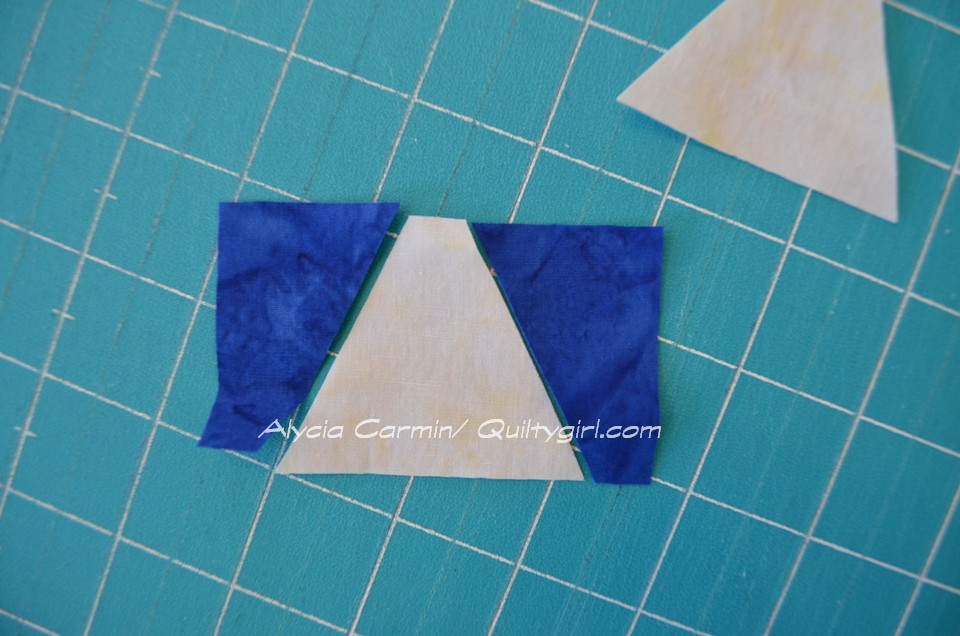
We now have the inner top set together 


We are now ready to add the borders.

The first border is a red 3 inch border. I sew my border strips together end to end, so I have a long strip.

The inner quilt should measure 36 ½ by 61 inches. But verify your measurements. I then cut the strips to size, pin and attach. I attached the Top and Bottom border first, pressed, then re-measured. I then cut the Left and Right borders, pinned, and attached. Then press.


Next we will add the final border!

You will use the Blue 7 ½ inch strips that you cut. Again – I measure the top. Mine measured 41 ½ by 66 ½, prior to adding the blue border.

Sew the strips together, and measure the quilt. Cut the border to fit. Again – I attached the top and bottom borders first. Press


Then I measured, cut my blue, and attached the left and right border. Press

And Voila – a finished Quilt of Valor top:


Your finished quilt top should measure 56 x 80


I hope you have enjoyed making this, and I hope you will enjoy seeing and learning how Kimmy will quilt it. I am excited to take her class and learn some new techniques. And think of the smiles and love you will be passing on to a service member!

When your quilt is all Quilted and bound there are a couple of ways to get them to a service member. 

You can identify a local Veteran Touched by War and make the presentation


Second – you can go to http://www.qovf.org On the left side there is a button that says “request a destination” Fill that form out, and a destination will be sent to you.

Three - Colorado can always use Quilts of Valor  - contact me - I can help


For more patterns written by me head to:
Or to my everyday Quilt Blog : alyciaquilts.blogspot.com

Kimmy Quilt of Valor Step 5

This is a re-post of the Mystery Quilt that Kimmy, Craftsy and myself collaborated on. I designed the quilt and the pieceing, Kimmy designed the quilting ( Ah-Mazing!!) and Craftsy hosts Kimmy's class that teaches you how to Quilt like Kimmy.

Some of our old posts are disappearing - so.... we are going to re-create them here -that way we all have access for ever!


The inner Quilt

Are you all ready? We have all the blocks sewn – 8 Star Chain Blocks, and 7 Cream colored blocks. 

You cut the cream colored 12 ½ inch blocks in the cutting instructions. So today we will complete the center of the quilt.

The setting is 3 x 5,

The first, third and fifth rows will be a Star, Solid, star row  


The second and fourth rows will be a Solid, Star, Solid Row ( PIC 5  2 4 rowabove)

When finished the inside top will look like:


Since this was a pretty efficient step – I thought I would take a moment and tell you about Quilts of Valor.

The mission of the Quilts of Valor Foundation is to cover ALL combat service members and veterans touched by way with comfort and healing Quilts of Valor. This foundation is not about politics, its’ about people.  You can learn more about Quilts of Valor at http://www.qovf.org  - be sure to click on regional coordinators and find your local contact

Be sure to check out the other patterns written by Quiltygirl
AlyciaQuilts Pattern Store


Kimmy Quilt of Valor Step 4

This is a re-post of the Mystery Quilt that Kimmy, Craftsy and myself collaborated on. I designed the quilt and the pieceing, Kimmy designed the quilting ( Ah-Mazing!!) and Craftsy hosts Kimmy's class that teaches you how to Quilt like Kimmy.

Some of our old posts are disappearing - so.... we are going to re-create them here -that way we all have access for ever!


Finishing the star block.


Next we will add the chains around the star!

For the first round –

Take one 5 inch strip and sub- cut it into 16 -  2 ½ in pieces. Take these and sew them onto the right and left side of the Star


Press them open


Next take 1 - Cream 5 inch strip, and two Blue 2 ½ inch strips. Sew a blue strip to each side of the white strip.


Press them open


Sub cut the strip set into 16 2 ½ inch pieces


Attach these strip sets to the top and the bottom of the block.


This block should measure 9 inches, however, if they are off – no worries. We will trim the block to 8 ½ inches square. If your block was 9 inches, this means taking ¼ inch off of each side. If your block was a little off – it gives you a chance to square them up before we move on.

Ready? All 8 blocks are now 8 ½ inches square?  Ready for the next round?

NEXT

Take one of your 8 ½ inch Cream strips and sub-cut it to 2 ½ inch pieces. You will then sew them to the left and right of the star block.


Take the last 8 ½ inch Cream Strip, and 2- 2 ½ in Blue strips. 

Sew a blue strip on each side of the Cream, and press. Sub-cut into 2 ½ inch strips. These will go on the top and bottom of the block. 

Press


Here is your final star chain block. It should measure 12 ½ inches square when all sewn together.


For more cool patterns written by Quiltygirl - check out my Craftsy site
AlyciaQuilts Pattern Store

Kimmy Quilt of Valor Step 3

This is a re-post of the Mystery Quilt that Kimmy, Craftsy and myself collaborated on. I designed the quilt and the pieceing, Kimmy designed the quilting ( Ah-Mazing!!) and Craftsy hosts Kimmy's class that teaches you how to Quilt like Kimmy.

Some of our old posts are disappearing - so.... we are going to re-create them here -that way we all have access for ever!

Step 3

The Small Star Block.

This block will finish at 5 inches. I know its small – but it is so cool!! AND!! You only need to make eight of them!


We will be using the Tri Recs ruler for these.  So grab your 2 inch Blue strips.  

You will need 32 Sets of these little pieces. 


When I cut them I stacked the 2 strips together and cut 2 at a time for a total of 64 pieces ( or 32 sets)   

.

DO NOT forget the little tab cut on your ruler. These help you when you sew them to the Tri part of the star 


Next grab your 2 inch white strip, and the left over 2 inch strip -  and cut 32 Tri Pieces.


Sew your tri rec star points together,


 I found it helpful to sew all the left side together, press, then sew all the Right sides on, and press.


When all the star points have been sewn, we are now ready to put the block together. You need your 2 inch squares in cream, your 2 inch squares in red, and your star pieces.  They will all lay out like this:


 I sewed them row by row, pressed, then sewed the rows together.

If you press 2 rows one way, and the middle row the other direction, you get seam that nestle together when you put the whole block together. This really helps when quilting, to avoid the build up of big lumps.


And ta –da – you are now finished with a 5 inch star block.


Friday, June 12, 2015

Kimmy Quilt of Valor Mystery Cutting Instructions

Cutting Instructions:

Hopefully you all have your fabrics chosen or purchased?
 Let’s move on to the cutting instructions.
**Strip refers to the Width of Fabric - so at least 40 inches

Red –
1 – 2 inch strip. Sub Cut this 2 inch strip into 8 - 2 inch Squares
5 – 3 inch strips ( put aside for the Inner Border)

Blue –
2 – 2 inch strips ( you will use your recs ruler on these)
4 – 2 ½ inch Strips
6 – 7 ½ inch strips ( for your outer border)

Cream –
2 – 5 inch strips
2 – 8 ½ inch strips
2 – 2 inch strips  ( Sub Cut into 32 – 2 inch squares, and save the left over for the next cutting step)
1 -2 inch strip ( plus the extra ) ( you will use your TRI ruler on these)
7  - 12 ½ inch squares

Yay – Take a break, you deserve it!!


Kimmy Quilt of Valor Mystery Quilt Fabric Requirements

This is a re-post of the Mystery Quilt that Kimmy, Craftsy and myself collaborated on. I designed the quilt and the pieceing, Kimmy designed the quilting ( Ah-Mazing!!) and Craftsy hosts Kimmy's class that teaches you how to Quilt like Kimmy.

Some of our old posts are disappearing - so.... we are going to re-create them here -that way we all have access for ever!

Fabric Requirements


Just in case you don’t remember or haven’t heard of Quilts of Valor – You can learn more at http://www.qovf.org or at my blog. At this particular moment, we are in a need for Quilts of Valor.

We are still at war in Afghanistan, and have record numbers of wounded being sent to Landstuhl Military Hospital.

I happen to be the coordinator here in Colorado, and seem to have many, many veterans in our state. I work in the WTB at our local post. This is an amazing battalion where many of our wounded go for rehab, or to await medical decisions. I also have groups at the VA’s in the state, as well as an amazing Equine Therapy group. All of these are places our Veterans can receive the care they need, and we get to give them a Real American Hug through our Amazing Quilts of Valor.

Fabric Requirements

For this quilt I did it in the Traditional Red White and Blue. Based on 10 years of experience with our military quilts, about 90% of them seem to prefer this color scheme. So I thought I would make it easy on myself!!

I chose fabrics from http://www.sewbatik.com

Red (Called Ribbon Red)               ½ yard ( I actually used 17 inches to be exact, so if you like extra, adjust accordingly)
Cream ( Called Cream Tan)           2 Yards   ( I used exactly 72 inches)
Blue  ( Nuance Gradation Nautica)  1 ¾ yards ( I used exactly 59 inches)

Binding:  I would suggest using Blue – so add an additional  ½ yard for binding

Backing: Finished size will be 56 x 80


TOOLS NEEDED:

For this mystery I used my Tri Recs Ruler. All cutting instructions are based on using this ruler.


Monday, June 1, 2015

June Special

Happy June!!!! It's time to get some of those Tops Quilted up!!
For June - Mail me, Meet me, Bring me your Quilt to be Quilted - 
and get a 10% off coupon for the next one.
Bring me 2 quilts - you can use your 10% immediately on that quilt!!
Message me for locations I will be available to pick up your quilts,
 or an address to mail them too!!!
Good through June 30th, 2015